


시작하기 전에
- 실습에서는 정해진 기간 동안 Google Cloud 프로젝트와 리소스를 만듭니다.
- 실습에는 시간 제한이 있으며 일시중지 기능이 없습니다. 실습을 종료하면 처음부터 다시 시작해야 합니다.
- 화면 왼쪽 상단에서 실습 시작을 클릭하여 시작합니다.

You will embark on a journey to explore the fundamental concepts of Advanced hypothesis testing through an Annotated Follow-Along Guide.
Hypothesis testing is a crucial concept in statistics used to make inferences about a population based on sample data. Python provides several libraries, such as SciPy and StatsModels, that offer functions and methods for hypothesis testing.
You'll need to start the lab before you can access the materials. To do this, click the green “Start Lab” button at the top of the screen.
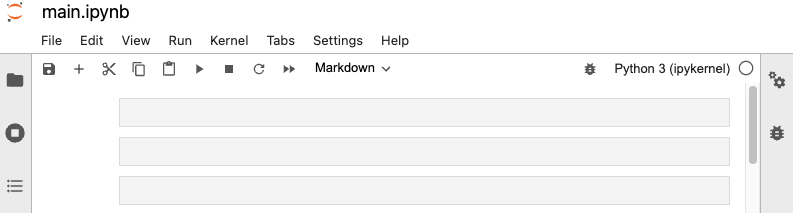
After you click the “Start Lab” button, you will see a Jupyter Notebook, where you will be performing further steps in the lab. You should have a jupyter notebook that looks like this:
You'll explore the following objective into this lab:
To complete this lab, you will open a Jupyter Notebook and follow instructions to enter code and written responses where prompted. The Jupyter notebook will autosave as you work, or you can manually save it by clicking the Save and Checkpoint button or by selecting Save and Checkpoint from the File menu.
As you complete the lab, note the following features:
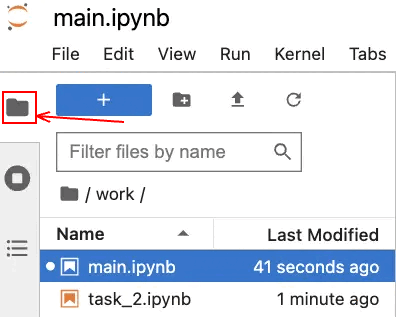
In this lab, you will perform operations on CSV data corresponding to the tasks outlined in the instructions. Retrieve the CSV file attached to the task instructions and proceed to upload it into the Jupyter Notebook using the following steps:
Click on the CSV file name specified in the task instructions, and the CSV file will be downloaded to your designated download directory.
Next, within your lab's Jupyter Notebook, simply select the Upload File button, choose the desired CSV files, and then click on Upload.
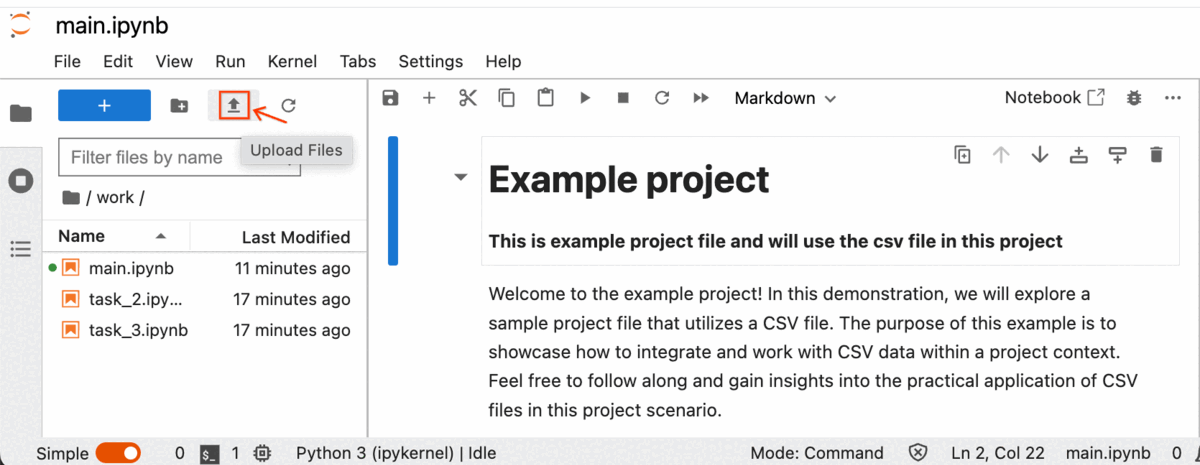
The process of uploading the CSV file has commenced, and you can locate the progress indicators at the bottom of the Jupyter Notebook.
You will learn to use Python to run both a one-way and two-way ANOVA test. You'll also learn to run a post hoc test to analyze the results of a one-way ANOVA test. Before starting on this programming exercise, we strongly recommend watching the video lecture and completing the IVQ for the associated topics.
Use the following CSV data for this task:
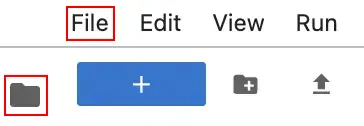
Click the files icon to access Jupyter notebook file.
Open the main.ipynb file, by clicking on the file name.
You work for an environmental think tank called Repair Our Air (ROA). ROA is formulating policy recommendations to improve the air quality in America, using the Environmental Protection Agency's Air Quality Index (AQI) to guide their decision making. An AQI value close to 0 signals "little to no" public health concern, while higher values are associated with increased risk to public health.
Click the files icon to access Jupyter notebook file.
Open the main.ipynb file, by clicking on the file name.
### YOUR CODE HERE ### indicates where you should write code. Be sure to replace this with your own code before running the code cell.
Before you end the lab, make sure you’re satisfied that you’ve completed all the tasks, and follow these steps:


현재 이 콘텐츠를 이용할 수 없습니다
이용할 수 있게 되면 이메일로 알려드리겠습니다.

감사합니다
이용할 수 있게 되면 이메일로 알려드리겠습니다.

한 번에 실습 1개만 가능
모든 기존 실습을 종료하고 이 실습을 시작할지 확인하세요.